Graduation, Anniversary, Wedding and
Miscellaneous Cards
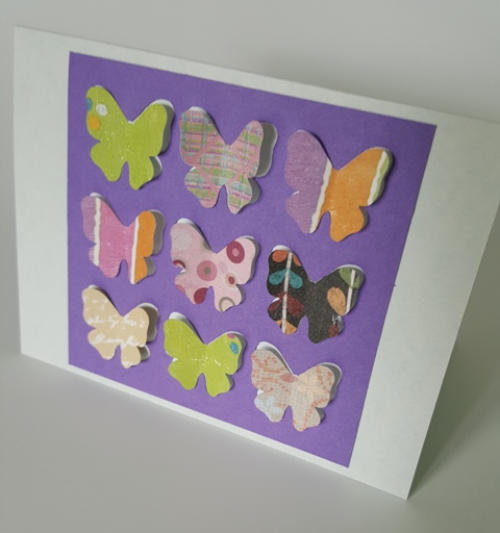
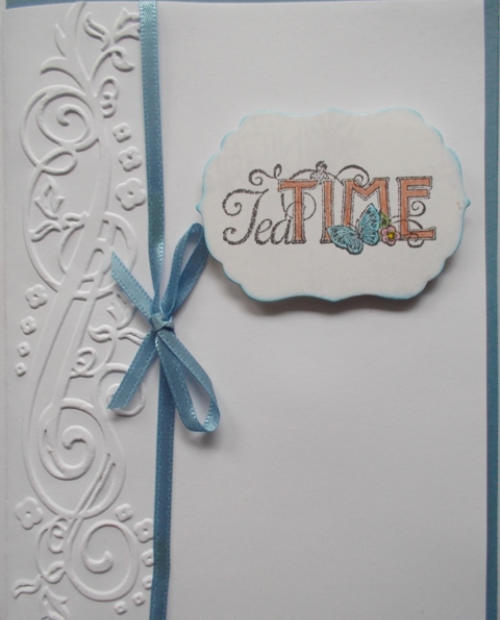
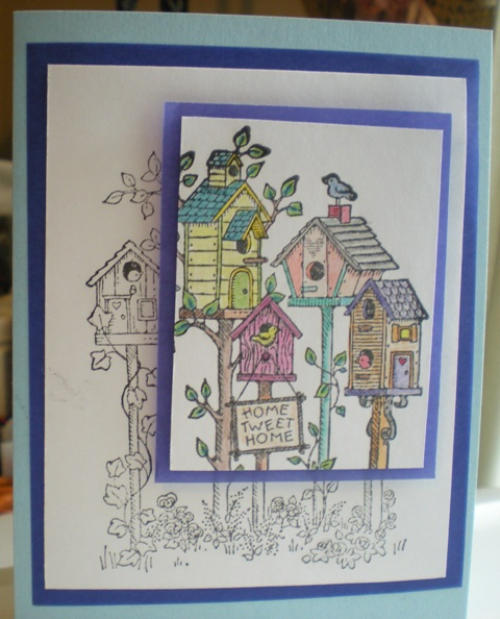
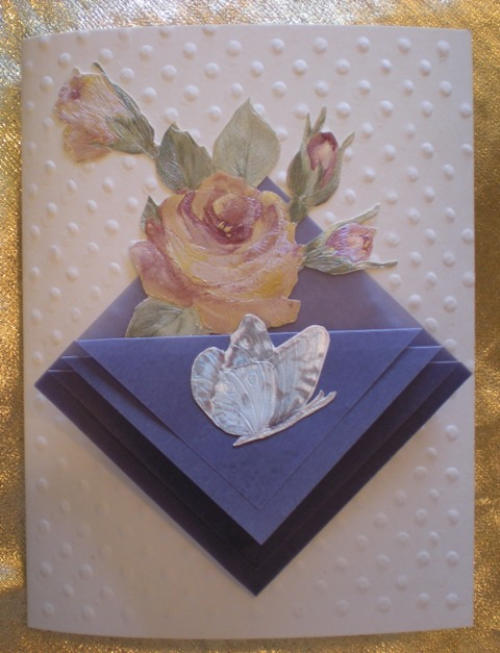
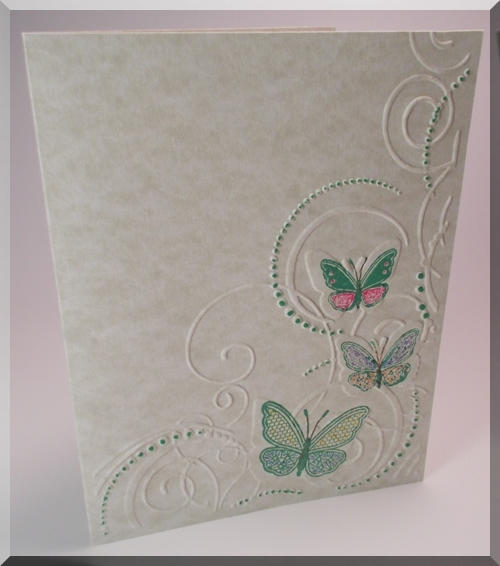
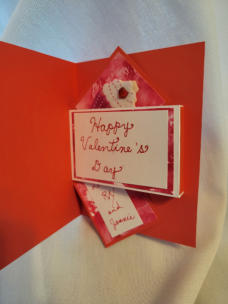
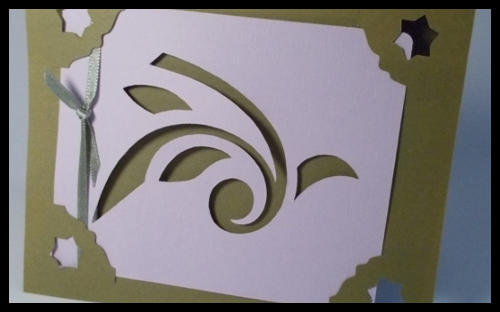
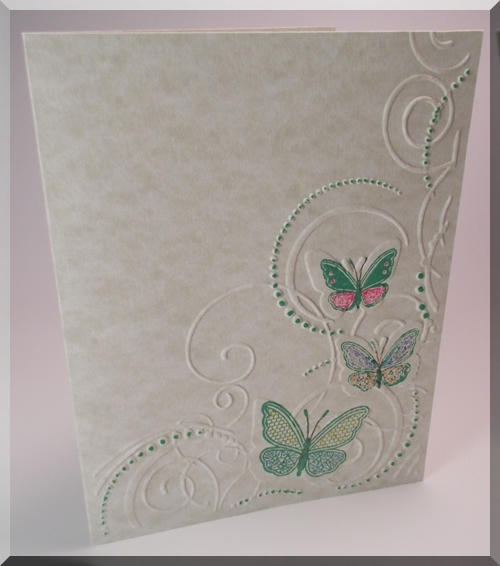
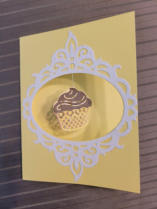
There are a lot of other occasions for cards, too. We like to keep a stock of miscellaneous cards on hand that can be used if we need a quick card. Most of them aren’t completely finished, so we can add wording to fit the need.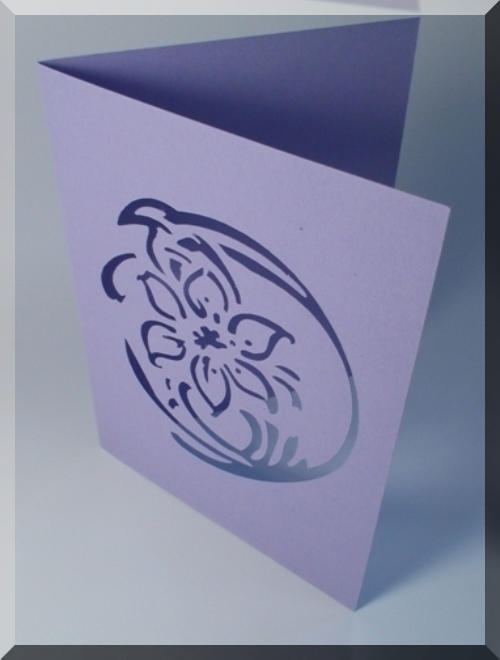


© heavenlycastles.com 1999 to Present
Made with Xara


Hand made greeting cards for all occasions
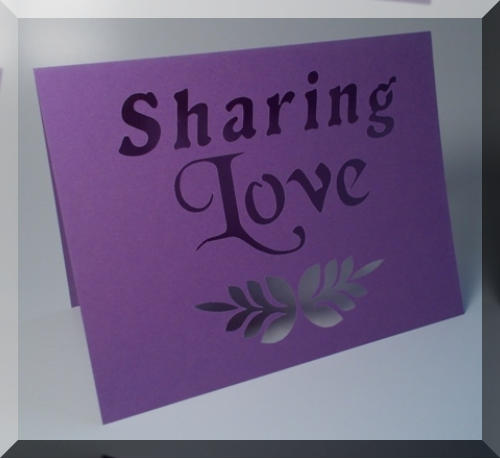
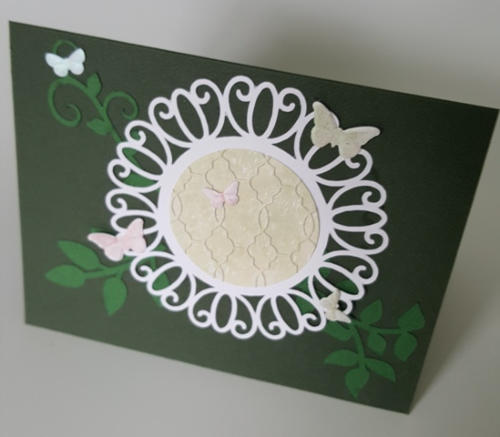
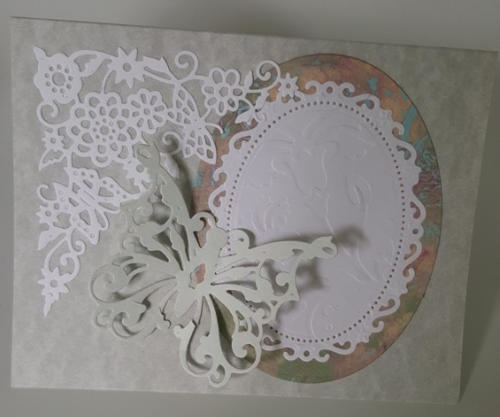
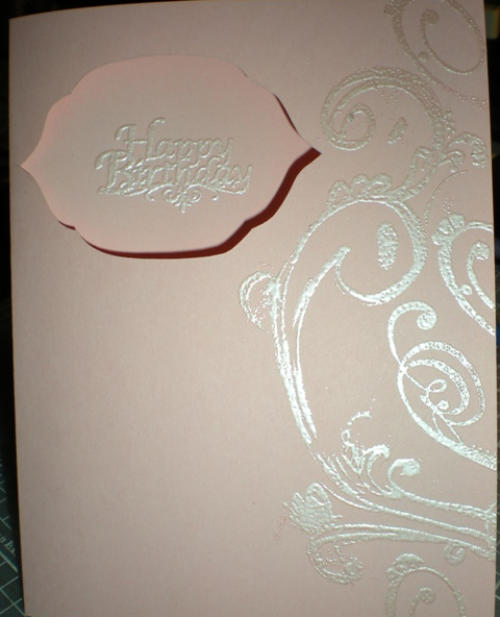
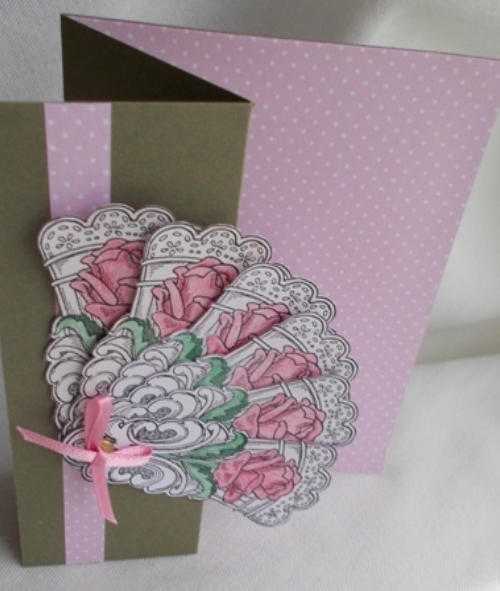
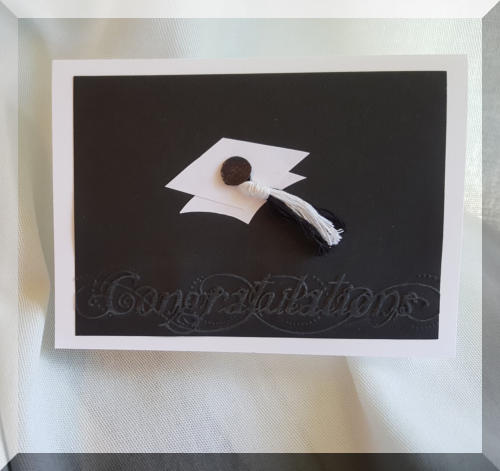
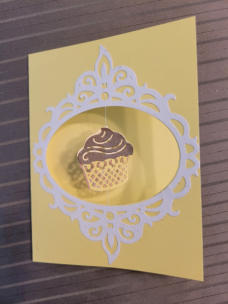
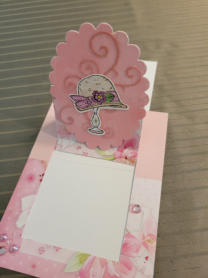
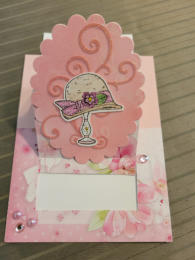
This is an easel card. There is an easel
attachment on the back that makes the card
stand upright. It was used like a place card on
a dinner table.

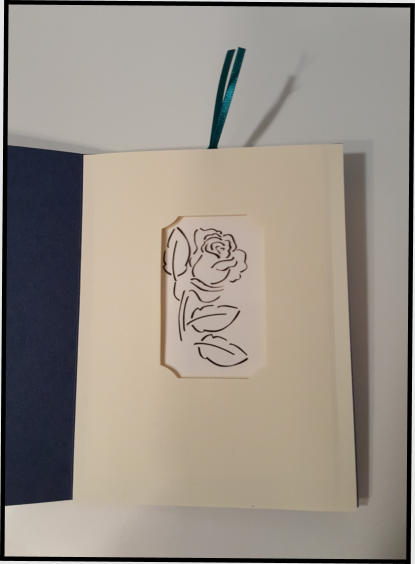
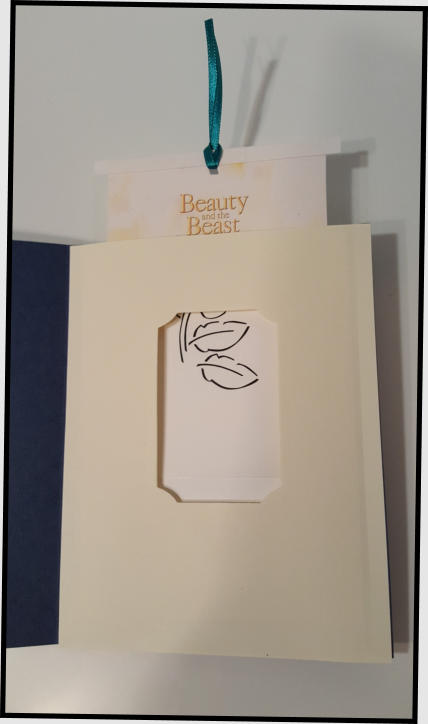
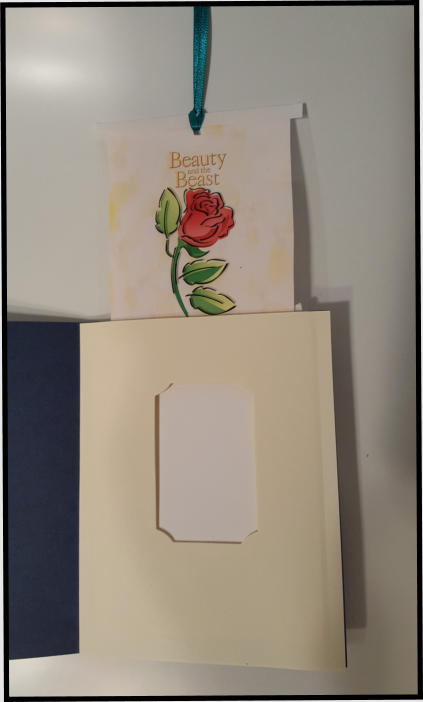
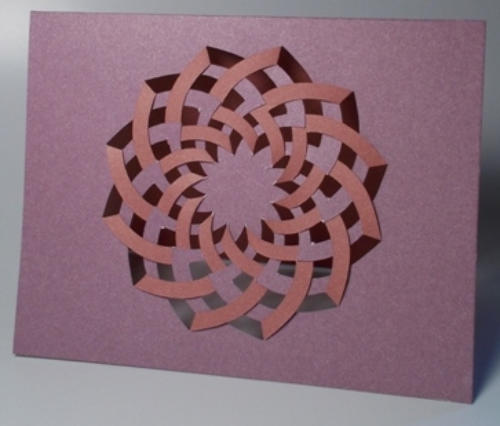
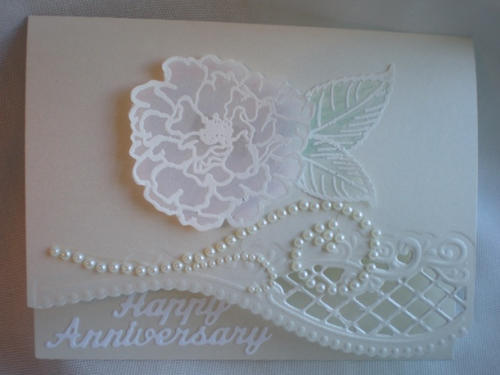
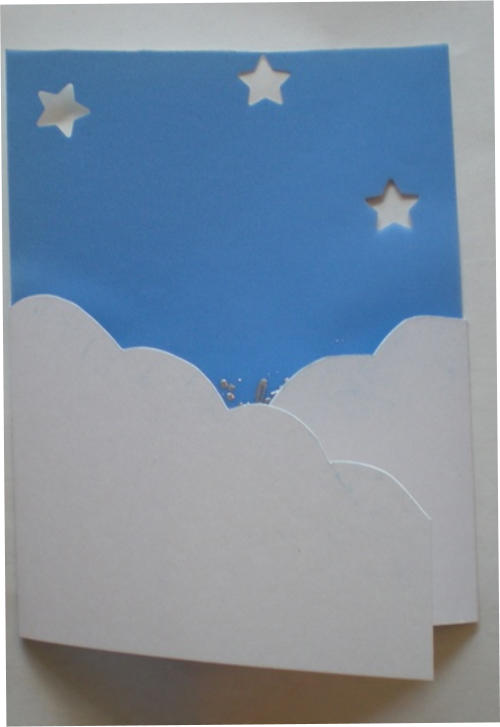
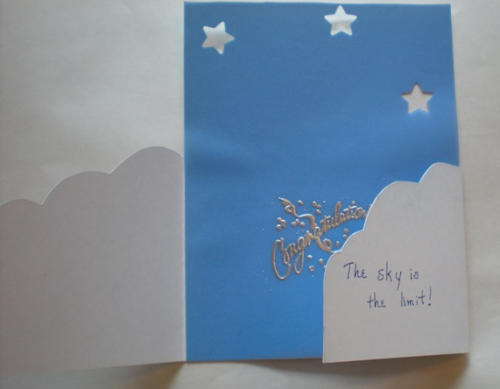
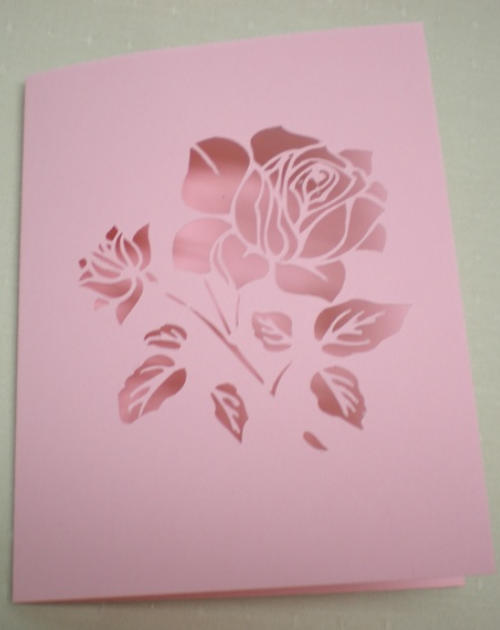
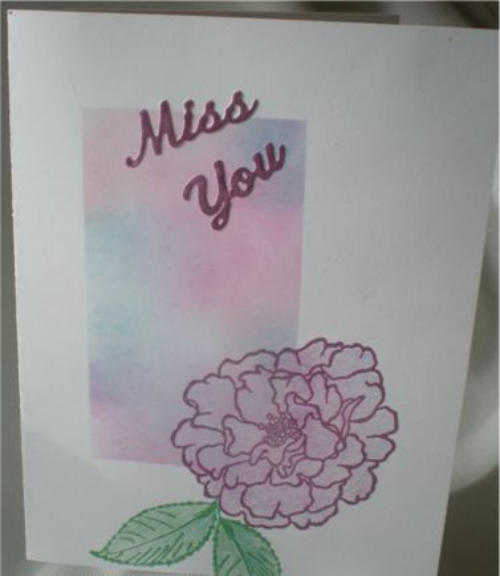
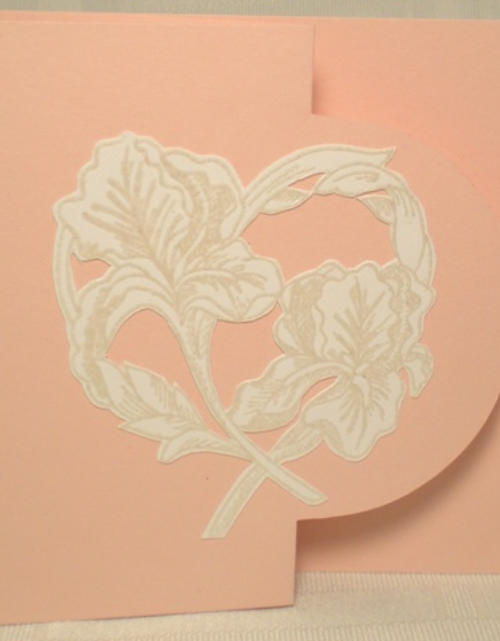
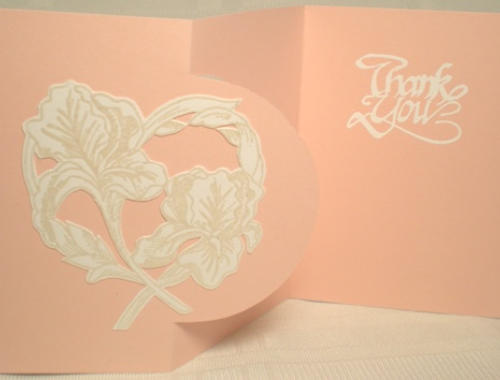
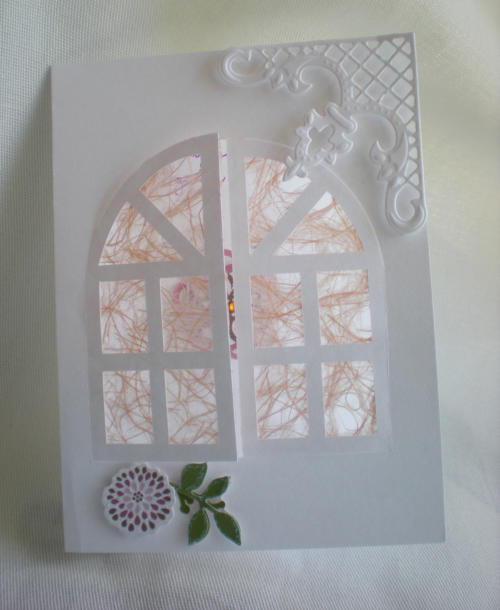
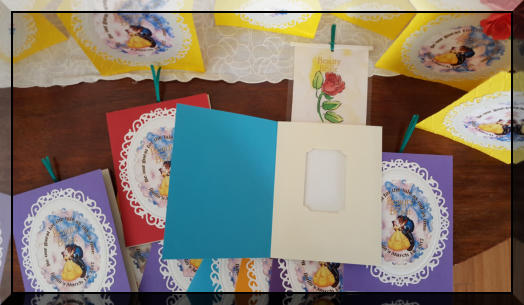
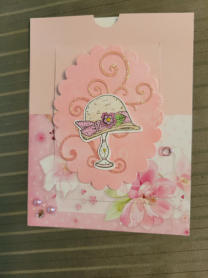
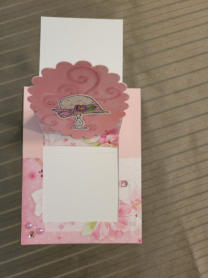
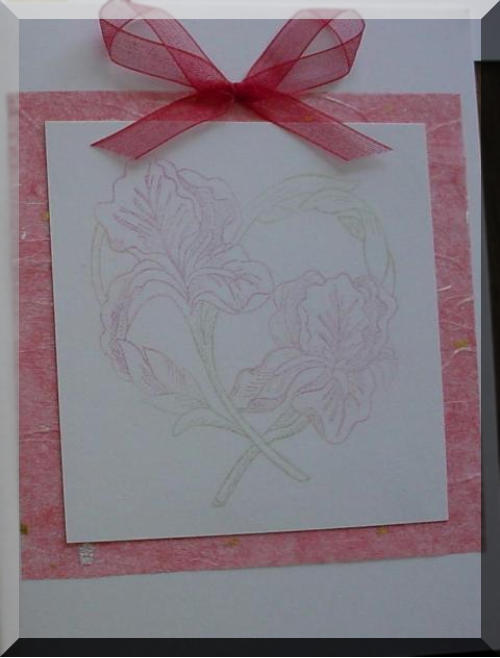
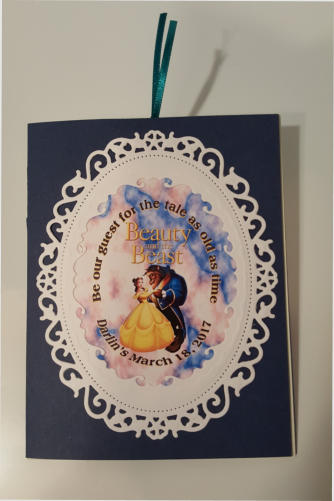
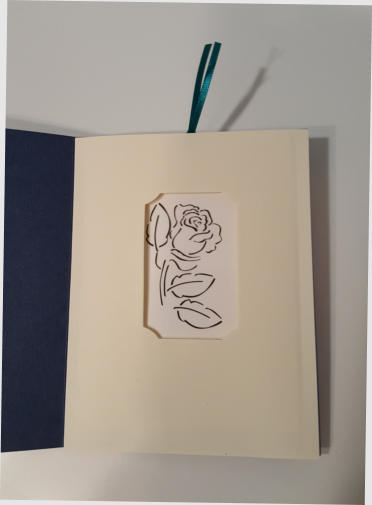
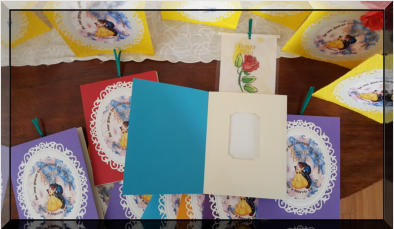
This sample is called a magic slider card. The first photo is the
outside of the card. The second photo shows the inside of the card
before the slider is pulled. It looks like a nice sketch. Once the
ribbon at the top is pulled, the slider reveals the rose in full color.
These are a wonderful surprise for special occasions.
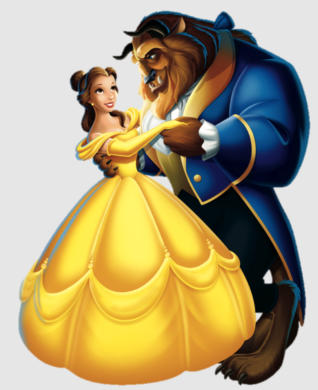

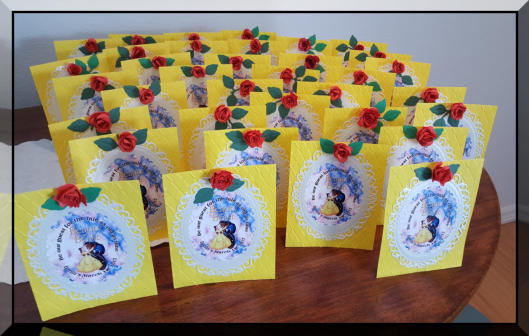
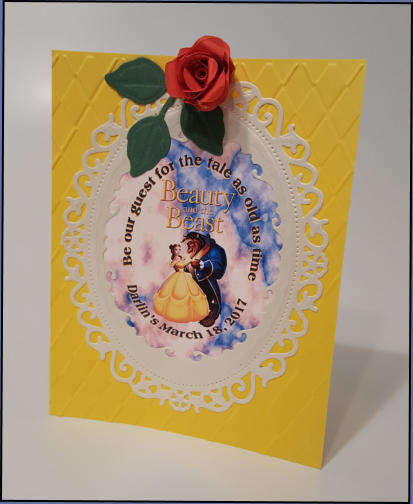
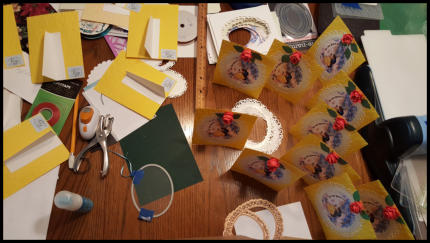
As you can see, we made a lot of
these cards. We met with a group
of friends for the premier of the
new Beauty and the Beast movie.
First we ate at the Be Our Guest
restaurant in Walt Disney World,
and later we went to Disney
Springs and watched the movie
together. We used the easel cards
as place cards on the tables at the
restaurant. The slider cards were
for a few of the guests.
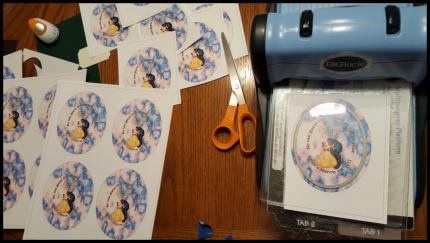
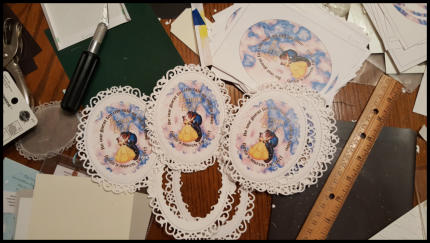
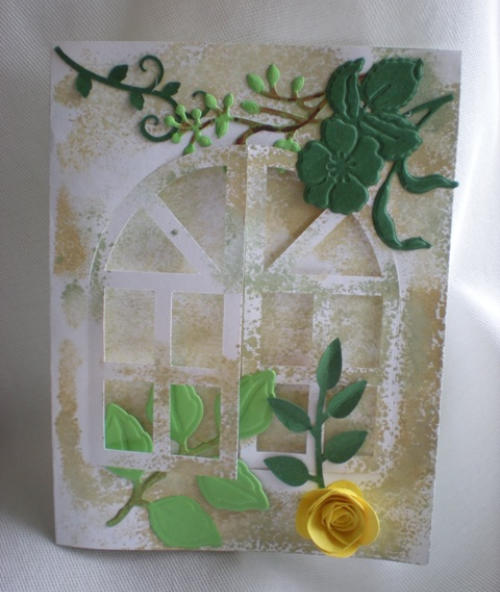
There are several steps in making these cards. The design for the center is printed in color on card stock.
Then the prints are cut out using a die cut machine. The frilly frames are cut and embossed using the
same die cut machine. Each has to be cut and embossed individually. The next step is to glue the printed
design and frame together. The yellow background is embossed with a raised design and an easel is glued
to the back of the card. Finally the frame is glued onto the easel card and a hand-rolled paper rose is
attached at the top of the frame.
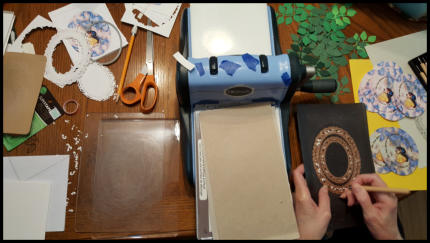
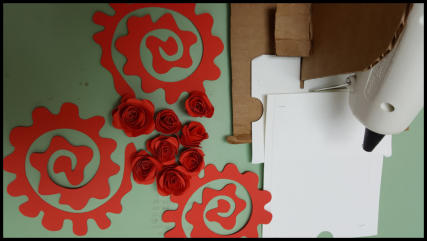
The paper roses are cut using a vinyl cutter. Then the roses are rolled tight and glued with a very hot glue
gun to keep them from unwinding. (A few fingers might have been burned in the process.)
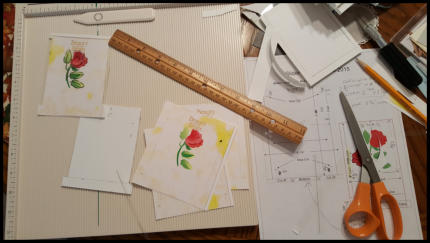
To make the slider cards, the rose outline was printed on clear acetate. The colored rose was printed on
card stock. The slider is assembled by lining up the acetate over the colored print and attaching at the
top. To assemble the card, we added a plain white card between the two layers. The sides are folded in
just larger than the design and a window is cut into the covering piece so that the rose is visible. A slit is
cut in the sides so that the colored portion will slide up and down. A half circle is cut at the top of the
slider frame and a ribbon attached to the top of the slider helps to pull the slider up. That white sheet is
then glued inside a card and a print with the frame attached is glued to the outside of the card.

Friendship Cards


Graduation, Anniversary,
Wedding and Miscellaneous
Cards
There are a lot of other occasions for cards, too. We like to keep a stock of miscellaneous cards on hand that can be used if we need a quick card. Most of them aren’t completely finished, so we can add wording to fit the need.


© heavenlycastles.com 1999 to Present


Hand made greeting cards for all occasions
Hand made greeting cards for all occasions


As you can see, we made a lot of these cards. We
met with a group of friends for the premier of the
new Beauty and the Beast movie. First we ate at
the Be Our Guest restaurant in Walt Disney World,
and later we went to Disney Springs and watched
the movie together. We used the easel cards as
place cards on the tables at the restaurant. The
slider cards were for a few of the guests.


This is an easel card. There is an easel attachment on the back
that makes the card stand upright. It was used like a place card
on a dinner table.
This sample is called a magic slider card. The first photo is the
outside of the card. The second photo shows the inside of the card
before the slider is pulled. It looks like a nice sketch. Once the
ribbon at the top is pulled, the slider reveals the rose in full color.
These are a wonderful surprise for special occasions.

There are several steps in making these cards.
The design for the center is printed in color on
card stock. Then the prints are cut out using a
die cut machine. The frilly frames are cut and
embossed using the same die cut machine. Each
has to be cut and embossed individually. The
next step is to glue the printed design and frame
together. The yellow background is embossed
with a raised design and an easel is glued to the
back of the card. Finally the frame is glued onto
the easel card and a hand-rolled paper rose is
attached at the top of the frame.
The paper roses are cut using a vinyl cutter.
Then the roses are rolled tight and glued with a
very hot glue gun to keep them from unwinding.
(A few fingers might have been burned in the
process.)
To make the slider cards, the rose outline was
printed on clear acetate. The colored rose was
printed on card stock. The slider is assembled by
lining up the acetate over the colored print and
attaching at the top. To assemble the card, we
added a plain white card between the two layers.
The sides are folded in just larger than the design
and a window is cut into the covering piece so
that the rose is visible. A slit is cut in the sides
so that the colored portion will slide up and down.
A half circle is cut at the top of the slider frame
and a ribbon attached to the top of the slider
helps to pull the slider up. That white sheet is
then glued inside a card and a print with the
frame attached is glued to the outside of the
card.


Friendship Cards